Profiling PHP apps using Zend Server
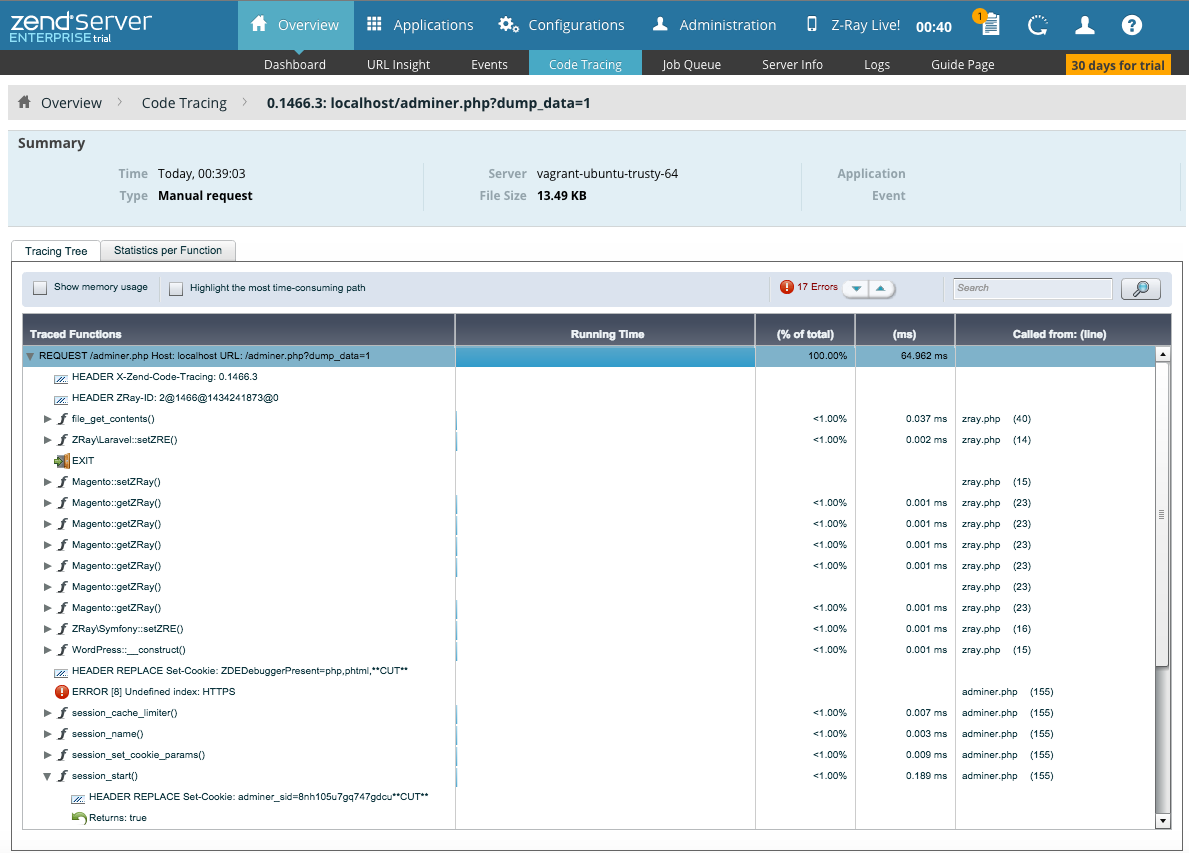
Despite Xdebug is a great tool for debugging PHP apps, profiling applications could be a difficult task to do. One of the best approaches I found, is by using Zend Server Tools.
In this post I show How to setup a simple LAMP environment based on Zend Server and Vagrant:
Vagrantfile:
# -*- mode: ruby -*-
# vi: set ft=ruby :

# Vagrantfile API/syntax version. Don't touch unless you know what you're doing!
VAGRANTFILE_API_VERSION = "2"

Vagrant.configure(VAGRANTFILE_API_VERSION) do |config|
  config.vm.box = "ubuntu/trusty64"

	# Forward ports to Apache and MySQL
  config.vm.network "forwarded_port", guest: 80, host: 8888
  config.vm.network "forwarded_port", guest: 3306, host: 8889
  config.vm.network "forwarded_port", guest: 10081, host: 10081

  config.vm.network "private_network", type: "dhcp"
	config.vm.synced_folder "src", "/var/www/src", type:"nfs"

	config.vm.provision "shell", path: "provision.sh"

   config.vm.provider "virtualbox" do |vb|
  #   # Don't boot with headless mode
  #   vb.gui = true
  #
  #   # Use VBoxManage to customize the VM. For example to change memory:
     vb.customize ["modifyvm", :id, "--memory", "2048"]
   end
end
Highligths:
- the port 80 is mapped at 8888
- the source code should be in the src folder (or symlinked)
- the provisioning of the machine is delegated to a shell script: provision.sh
provision.sh:
#!/bin/bash
mysql_config_file="/etc/mysql/my.cnf"

IPADDR=$(/sbin/ifconfig eth0 | awk '/inet / { print $2 }' | sed 's/addr://')
sed -i "s/^${IPADDR}.*//" hosts
echo $IPADDR ubuntu.localhost >> /etc/hosts			# Just to quiet down some error messages


echo "deb http://repos.zend.com/zend-server/8.0/deb_apache2.4 server non-free" >> /etc/apt/sources.list
wget http://repos.zend.com/zend.key -O- |apt-key add -

# Update the server
apt-get update
apt-get -y upgrade

# Install basic tools
apt-get -y install build-essential binutils-doc git
apt-get -y install zend-server-php-5.6

# Install MySQL
echo "mysql-server mysql-server/root_password password root" | sudo debconf-set-selections
echo "mysql-server mysql-server/root_password_again password root" | sudo debconf-set-selections
apt-get -y install mysql-client mysql-server

sed -i "s/bind-address\s*=\s*127.0.0.1/bind-address = 0.0.0.0/" ${mysql_config_file}

# Allow root access from any host
echo "GRANT ALL PRIVILEGES ON *.* TO 'root'@'%' IDENTIFIED BY 'root' WITH GRANT OPTION" | mysql -u root --password=root
echo "GRANT PROXY ON ''@'' TO 'root'@'%' WITH GRANT OPTION" | mysql -u root --password=root

# Restart Services
service apache2 restart
service mysql restart
This is all packaged in this zip file:
Highligths:
- MySQL credentials are root / root
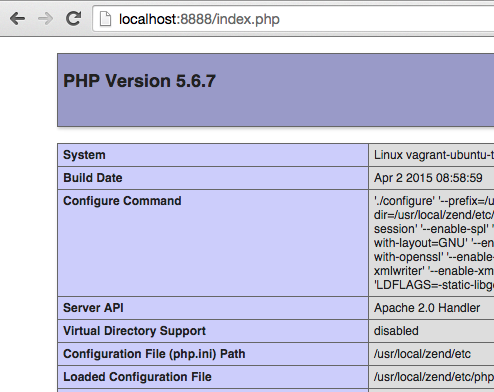
Now, after doing “vagrant up” you should be able to see the php info page at localhost:8888/index.php

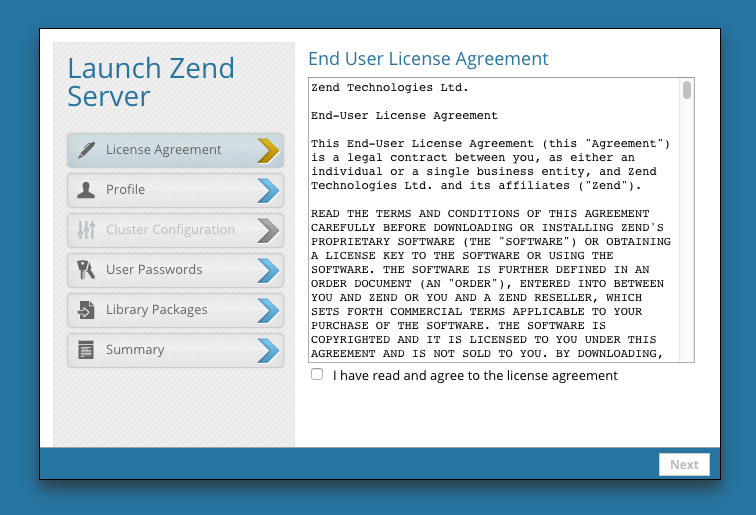
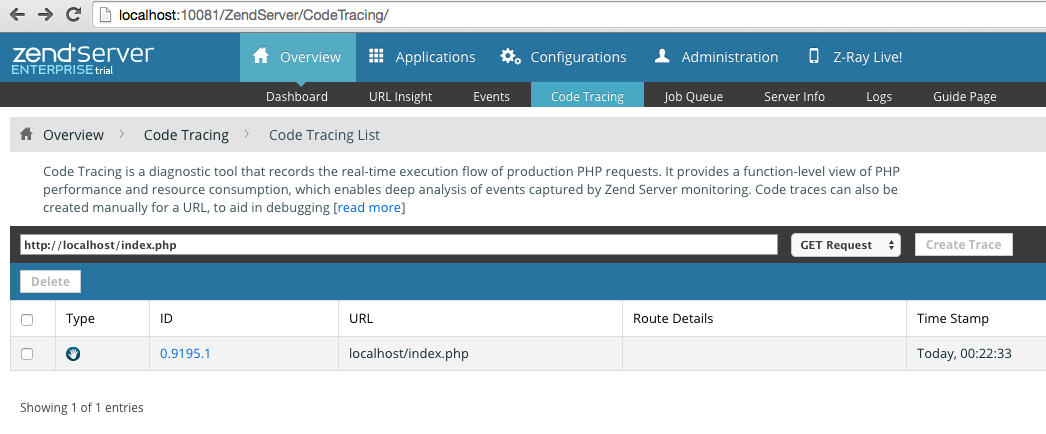
Finally you can reach the Zend Server Admin panel at localhost:10081

These are some images of the Zend Server in Action:


I hope this guide can help somebody :D
Resources: